Layouts
When a user logs into NetSupport ServiceDesk, the default start page is the Summary screen. You can change this to a selection of pre-defined pages or create a customised layout where you can customise the content for individual users, departments or companies. This allows you to have a mixture of information and functions displayed on the start page. For example, you may want an Administrator to see a list of all open Incidents; a graph showing Problems closed this week; a button that links directly to the holiday calendar; and an end-user to see a list of their open Incidents and a link to the company support knowledge base.
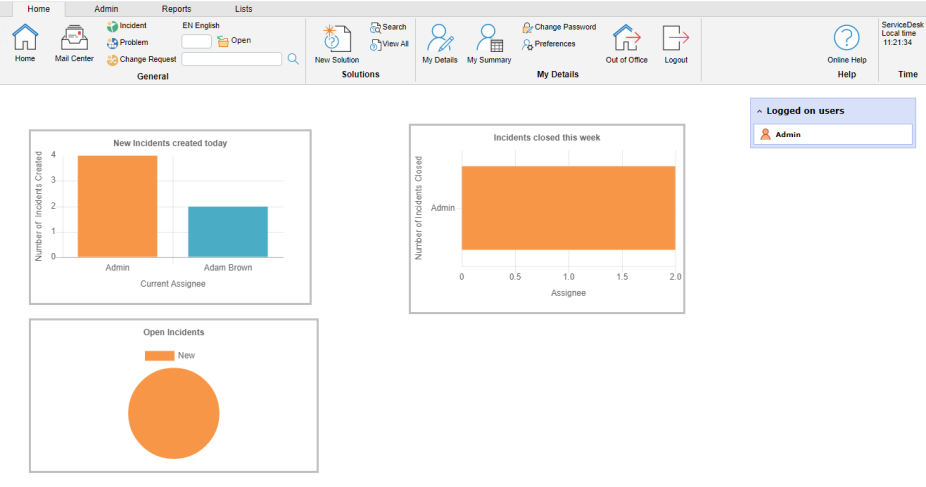
Summary page
Create a new layout
-
Select the Admin tab in the toolbar and click the Layouts icon.
-
Any existing layouts that have been created are listed.
-
Click the New icon.
-
The layout tools are displayed. You can choose to include the following tools in the new layout:
-
Drag the required item from the Tools menu into the white space. To resize and position the tool, select the required tool and click the Size/Position icon in the toolbar. You can also set the alignment by clicking the appropriate icon in the toolbar.
-
Click Properties to set the properties for the item.
-
Once all the required items are in place, enter a name for the layout. You can choose to hide the toolbar and the right-hand sidebar.
-
Click Save.
-
Click Preview to view the layout.
Applying a layout
-
Select the Admin tab in the toolbar and click the Users icon.
-
Click the company, department or user to apply the layout to.
-
Select the Preferences tab.
-
Select the required layout from the drop-down list in the Default Start Page option.
-
Click Save.
-
The next time user(s) log into NetSupport ServiceDesk, they the custom start page appears.
 Download manual

